
By this point, I’m sure no one has doubts that vacuum sealers are an amazing addition to most homes. They let you pack things neatly and store them safely for a long time. Not to mention that they help avoid food waste by prolonging the shelf life of just about any food you can think of.
However, many, many people aren’t sure how to use a vacuum sealer. It’s understandable, with so many different models available, finding out how they work can be a challenge. If that’s you, you have landed on the right page. I’ll be going over how to put your vacuum sealer machine to good use. I will also show you what you can do with your appliance—from using it to store meat to packing important documents and cooking with a sous vide. Stay tuned.
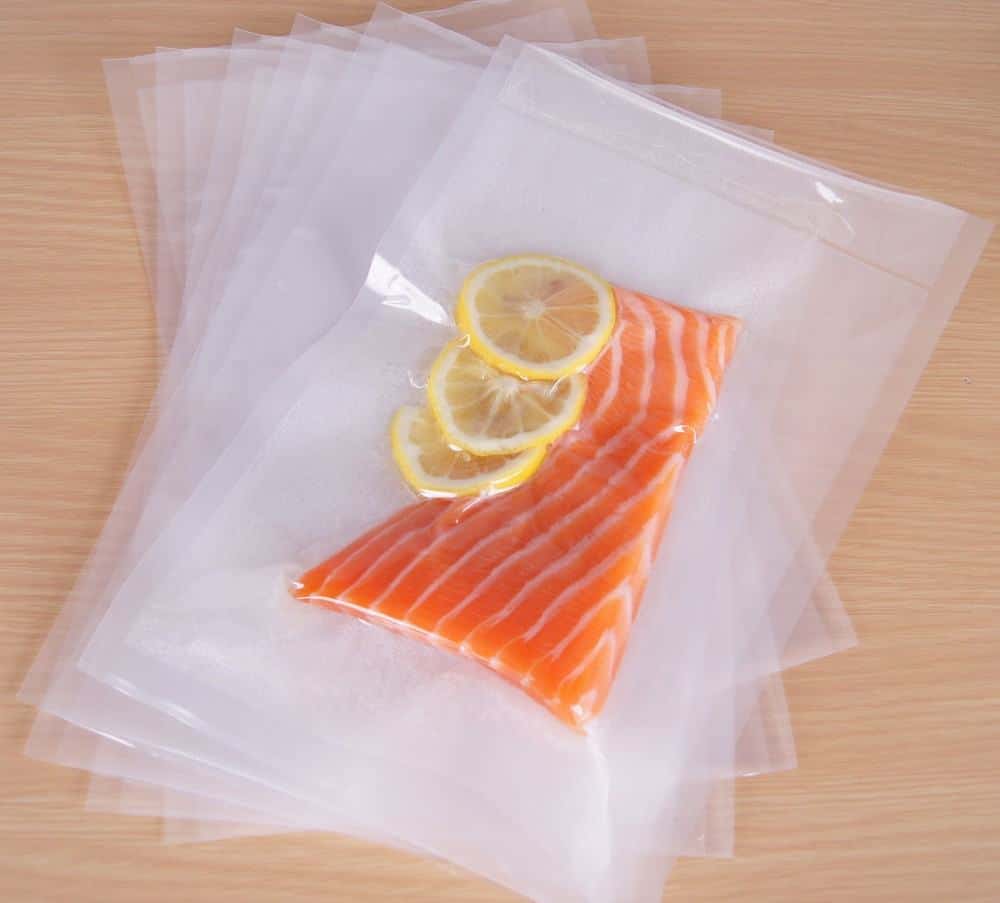
The first step in using a vacuum sealer the right way is finding the perfect vacuum sealed bags, containers, jars, or food-grade buckets for what you want to seal.
For starters, you have to get vacuum sealer bags. They’re much more effective at keeping the tight seal for months and months to come than regular plastic bags. Those tend to let air in, effectively ruining the entire purpose of a vacuum sealer. Food Saver, WeVac, and FoodVacBags are some of the best manufacturers on the market right now. While they can seem a bit pricey, you can usually reuse them at least a couple of times before disposing of them. You can also add an oxygen absorber to a less-sturdy bag.
Moreover, some vacuum sealers will also let you seal glass jars and containers. This is perfect for pickles and cooked foods you want to freeze, for example. If you’re going that route, make sure to get a vacuum sealer-friendly glass jar or container.
Lastly, keep in mind that your vacuum sealer bag (or jar or container) has to be the right size for what you’re sealing. If it’s too small, the seal won’t work and you’ll have a mess on your hands to clean. If it’s too large, you’ll just be wasting plastic bags, which can get expensive.
Just as important as choosing the right bag is getting your food prepped. Fortunately, you can do this quickly.
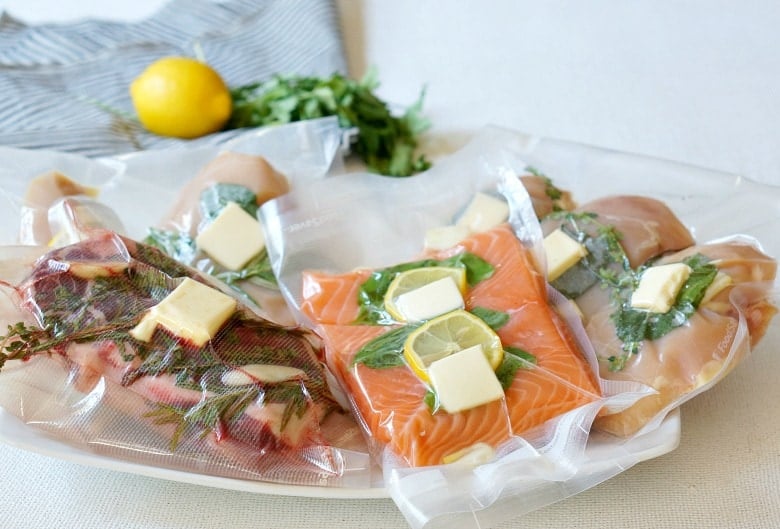
If you’re vacuum sealing meat and fish, make sure you’ve gotten the cut ready. Remove any nerves and fat you don’t want to cook. Then cut the slab of meat into smaller portions so they can easily fit in your fridge.
If what you’re vacuum sealing has sharp edges (for example, uncooked pasta or meat with bones), you’ll want to first wrap your bag contents in a soft item. A paper kitchen towel will do the trick. This way, when you seal the bag, the sharp edges won’t poke through the bag, meaning it will maintain a tight seal for a long time.
Lastly, are you vacuum sealing liquids? If you are, you need to freeze them first. Going the extra mile here will make your life easier because it will avoid making a mess and potentially breaking your machine.
Now that everything is ready, it’s time to start filling up the bags. Remember to always leave some room between the vacuum-sealed edge and your food. Leave anywhere between three and five inches at the top of the bag. When you do this, you’re ensuring you get a good seal that won’t wear off with time. Plus, if you don’t seal the bag properly the first time, you still have some room to try again.
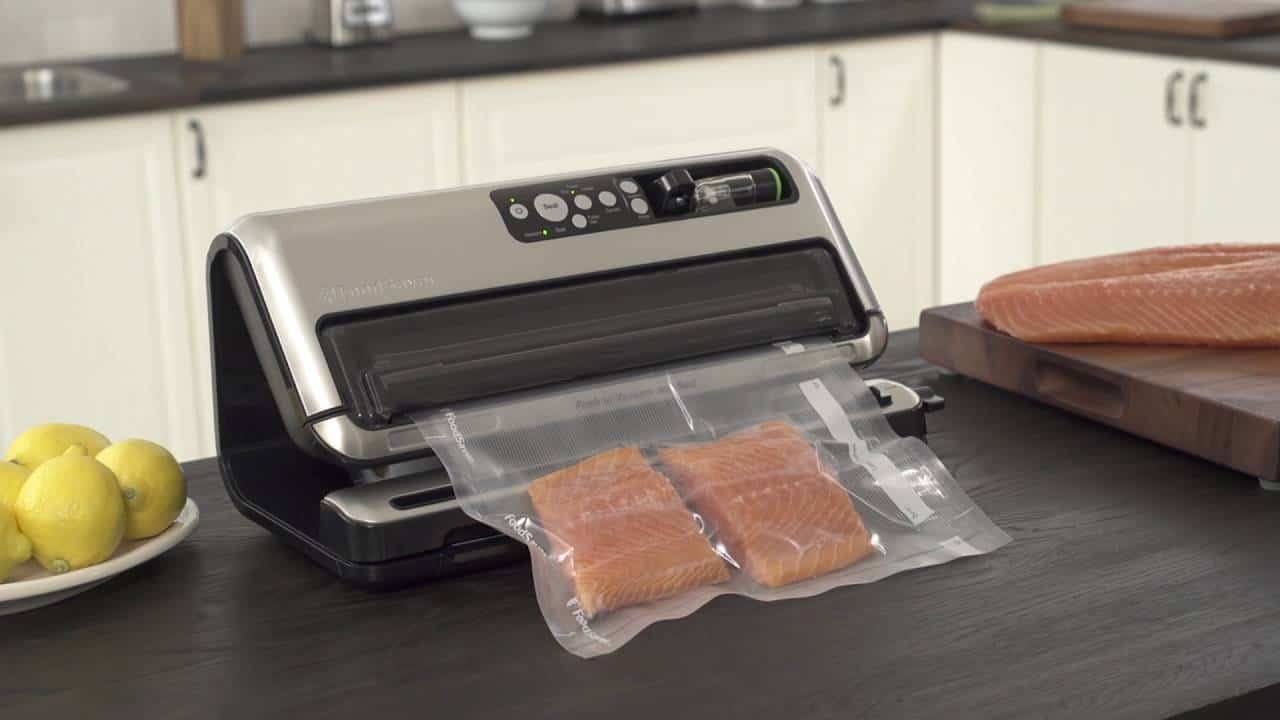
Now comes the fun part: taking out your vacuum sealer and using it. While every machine has a different vacuum process, they run on the same principles. So, if you still have your original instructions manual, leaf through it. But if you don’t, that’s no cause for despair.
Firstly, you’ll want to lay the vacuum sealing bag flat on your counter. Then, open the lid of your vacuum sealer and place the opening of the bag on the sealing strip. Make sure you're not placing the bag on the vacuum channel. You will then want to close the lid of your machine tightly—with some models you will hear a “click” when you do this properly. Lastly, click the button for the seal function and wait for the sealing process to be done. Most units will let you know when the seal is perfect by automatically turning off its vac seal indicator lights. Either way, you will most likely hear a sigh-like sound to tell you the bag is completely sealed.
Do keep in mind that the most advanced models have different sealing food settings and other additional buttons on the control center. If that's how yours is designed, make the most of the variety of settings by experimenting!
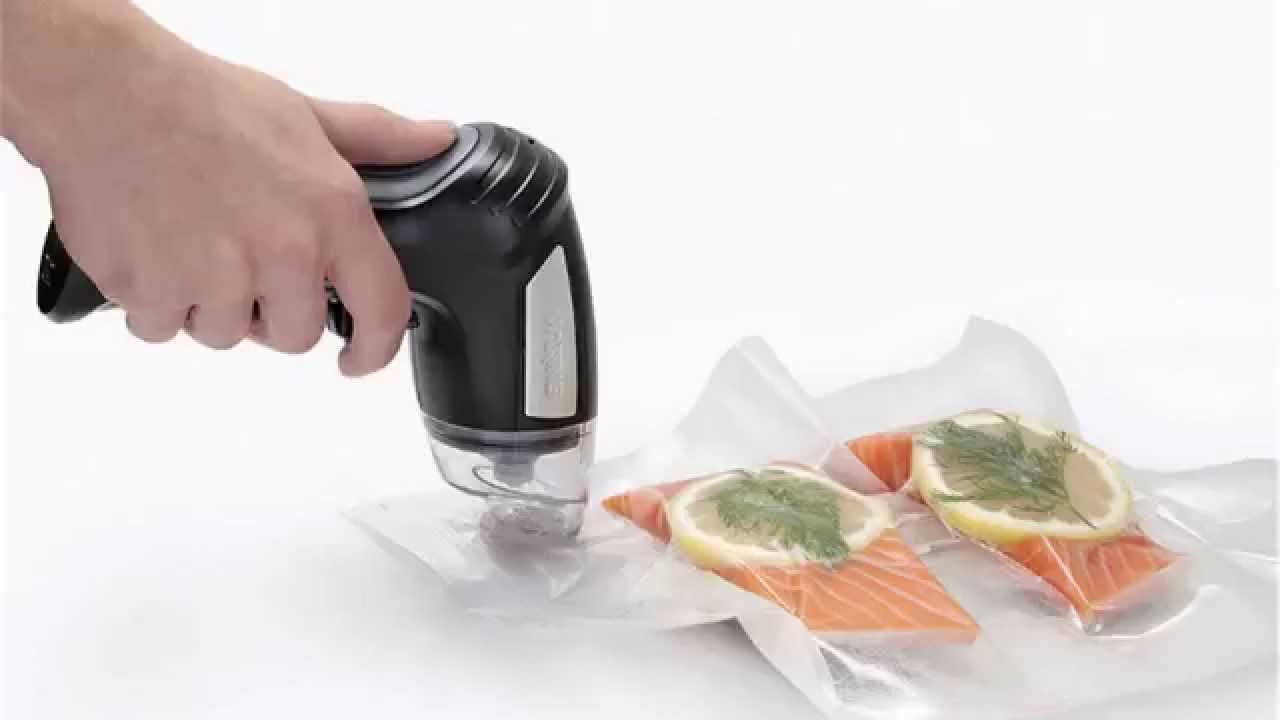
Handheld vacuum sealers work a little differently and look like scan machines, but they’re just as easy to use as the bulkier models. The first step is obviously making sure the sealer is charged. Then, you need to lay the vacuum sealer bag flat. Take your handheld vacuum sealer and press it down on the surface of the sealer bag. Press the sealing button until all the air has left. Alternatively, if you’re using a vacuum sealing container, you should press the sealing button for approximately ten seconds. And that’s it!
The best thing about vacuum sealing your food is that you can keep it fresh longer. As a rule of thumb, food storage in vacuum sealer bags tends to last anywhere from two to five times longer. But that’s only if you get a good seal and put away your vacuum sealed foods correctly!
Make sure you’re getting as tight of a seal as possible. You should also immediately put your food in the freezer after it’s been sealed. And, to take things to the next level, write on the vacuum seal bags what and when you’re freezing your food. Trust me, it will save you a lot of time when looking through the freezer later.
It may not seem like it, but your vacuum seal machine will get dirty. Meat juices can sip out of the bag and get into the crevices of the food sealer. That’s why you should clean it after every use.
Fortunately, this will take less than five minutes. Grab a damp dishcloth and wipe down the sealing strip and drip tray. Do the same for the opening to the vacuum chamber. Lastly, wipe down the top and sides of the sealing machine. Let dry completely and store it safely.
Now that we’ve seen the basics of how to use a vacuum sealer, here are some tasks you can do with this handy appliance.
Vacuum-sealed meat and fish lasts much longer in the freezer. It will stay good to eat for two to three years. Plus, these freezer foods won’t get freezer burn or oxidize. This is the best way to keep meat fresh for a long time. Make sure to put your food sealer to good use after your fishing trips!
Seasonal produce is not only a more eco-conscious choice but it also packs a lot more flavor and is usually cheaper. Take advantage of your local farmers' market and stock up on your favorite fruits and veggies. When you get home, you can vacuum seal them to have them ready to eat the rest of the year.
Pro tip: it's best to freeze juicy fruits before sealing them. Lay them out on a baking tray, freeze them, and lay them flat inside the sealer bag. If you're double stacking layers, you'll want to separate each other using wax paper. This will stop the fruit from clumping in tough-to-break clusters.
You can reseal food packages to keep it fresh for as long as possible. Potato chip bags, bags of coffee beans, spices—you name it. Put them in these vacuum seal bags and store them in your pantry for months (or years) to come.
A good way to save money is to vacuum seal greens and salad mixes. Instead of them going bad within a week in the fridge, you can keep them fresh for up to two weeks. It’s a great way of avoiding food waste.
You can store all kinds of dry goods (beans, lentils, chickpeas, rice, pasta, brown sugar, and so on) in a vacuum seal bag. They’ll retain their flavor and will keep for many more months.
If you’re a pickle lover like me, you can make your own at home. You will only need a vacuum-sealable glass jar (like the ones made by Food Saver). The same goes for canning.
Get some chicken breasts (or any other cut of meat) from the butcher’s and seal them using your vacuum sealer. Then grab your sous vide and you’re ready to cook a five-star meal.
Who says you can only use your vacuum sealer for food storage? You can most certainly use vacuum-sealed bags to pack bulky clothes. Vacuum bags for clothes are easy to find. Use them to store winter clothes in small closets until the weather gets cold again.
You wouldn’t want your important documents to get wet, right? So why not vacuum seal them? Keep passports, birth certificates, social security cards, and more safe from water damage in a vacuum-sealed bag.
It’s also a good idea to keep all these things together for emergency preparedness—especially if you live in an area of the United States where it’s not uncommon to have to evacuate because of natural disasters (e.g. wildfires, tornados, hurricanes). Emergency kits are always good to have on hand—don't forget to also vacuum seal lots of band-aids and gauze!
Lastly, if you have items with sentimental value, it could be a good idea to vacuum seal them too. For instance, if you have a precious collection of comic books and antique books, why not keep them safe from humidity and wetness?
I love experiencing new cultures through foods and it shows in my travels. When I'm at home I try cooking healthy but love blending dishes I've learned with fresh local ingredients.
Get your recipe fix!
I’ve had one for several months but couldn’t figure out how to use it.
I’m going to dig it out and have a go. Thank you
yes you can. that is were the stop button is used. so you would press vacuum let it suck until you are happy, click on stop then click on seal and let it seal.
Didn’t know you had to clean anything other than the tray . Yikes . How do I properly clean the machine ?